Release Date: 07-19, 2024
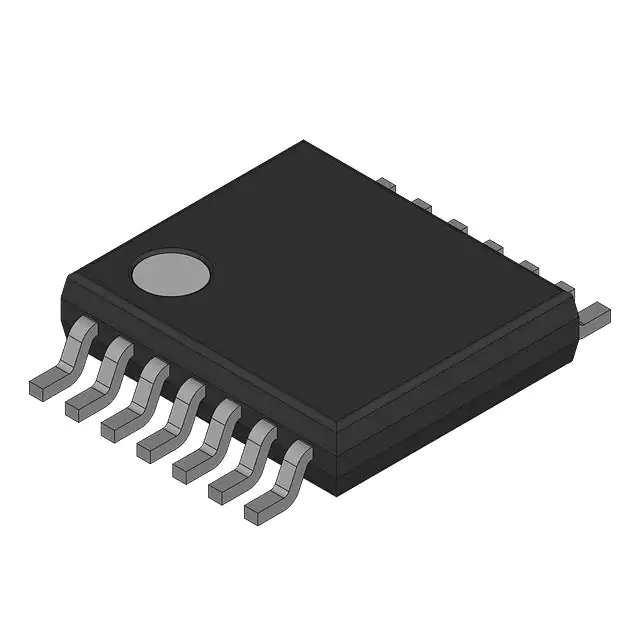
The 74VHC14MTCX is a popular hex inverting Schmitt trigger IC known for its high-speed performance and low power consumption. However, like any electronic component, it can encounter issues that impact its functionality. Whether you’re a seasoned engineer or a hobbyist, troubleshooting these problems effectively is crucial for maintaining your circuit’s performance. Here are expert tips from ChipGuest to help you diagnose and resolve common issues with the 74VHC14MTCX chip.

One of the most fundamental steps in troubleshooting is ensuring that the chip is receiving the correct power supply and ground connections. Verify that the VCC pin is connected to the proper voltage level, typically 5V for the 74VHC14MTCX, and ensure that the GND pin is properly connected to ground. Inadequate or fluctuating power supply can lead to unstable behavior or failure to operate. Use a multimeter to check for correct voltage levels and solid connections.
Signal integrity is crucial for the proper functioning of digital ICs. If you’re experiencing issues with the 74VHC14MTCX, use an oscilloscope to examine the input and output signals. Look for clean, square waveforms with sharp transitions. Any distortion, ringing, or slow rise and fall times could indicate problems with signal integrity. Ensure that input signals are within the specified voltage levels and are not affected by noise or interference.
Incorrect wiring or pin connections can cause the 74VHC14MTCX to malfunction. Double-check the chip’s datasheet to confirm that all pins are correctly connected according to your circuit design. Pay particular attention to the input and output pins, ensuring they are not inadvertently shorted or connected to incorrect voltage levels. A mistake in pin connections can lead to erratic behavior or complete failure of the chip.
Overheating and overcurrent conditions can damage the 74VHC14MTCX chip. Ensure that the chip is operating within its specified temperature range, typically between -40°C and +125°C. Excessive heat can be a sign of excessive current draw or inadequate cooling. Check for signs of physical damage or overheating, such as discoloration or a burnt smell. Ensure that the chip is not drawing more current than it is rated for, and verify that your circuit design includes proper current-limiting measures.
If troubleshooting steps don’t resolve the issue, test the circuit with a known good 74VHC14MTCX chip. Swapping out the chip can help determine if the problem is due to a faulty component. If the circuit functions correctly with a new chip, the original component may be damaged or defective. Using a known good component is a simple and effective way to isolate the issue.
Ensure that the logic levels used in your circuit are compatible with the 74VHC14MTCX chip. This chip is designed for high-speed CMOS logic levels, and using incompatible voltage levels can cause incorrect operation. Verify that your input signals are within the specified range and that the chip’s output is properly interfaced with other components in your circuit.
Poor PCB design can contribute to issues with the 74VHC14MTCX chip. Inspect your PCB for issues such as inadequate trace routing, poor grounding, or insufficient decoupling capacitors. Ensure that signal traces are kept short and well-routed to avoid noise and interference. Proper PCB design practices can significantly impact the performance and reliability of your circuit.
The datasheet for the 74VHC14MTCX provides valuable information on electrical characteristics, pin configurations, and typical applications. Review the datasheet to ensure that your circuit design adheres to the chip’s specifications. Additionally, consult application notes or manufacturer resources for guidance on troubleshooting and optimizing your circuit.
Troubleshooting common issues with the 74VHC14MTCX Chip requires a systematic approach to identify and resolve potential problems. By checking power supply and ground connections, verifying signal integrity, inspecting wiring and connections, addressing heat and overcurrent issues, testing with a known good component, ensuring logic level compatibility, reviewing PCB design, and consulting the datasheet, you can effectively diagnose and fix issues with this versatile IC. Following these expert tips from ChipGuest will help ensure that your circuit performs reliably and efficiently, keeping your projects on track.